

10 Tips for Designing a Graphic for Screen Printing
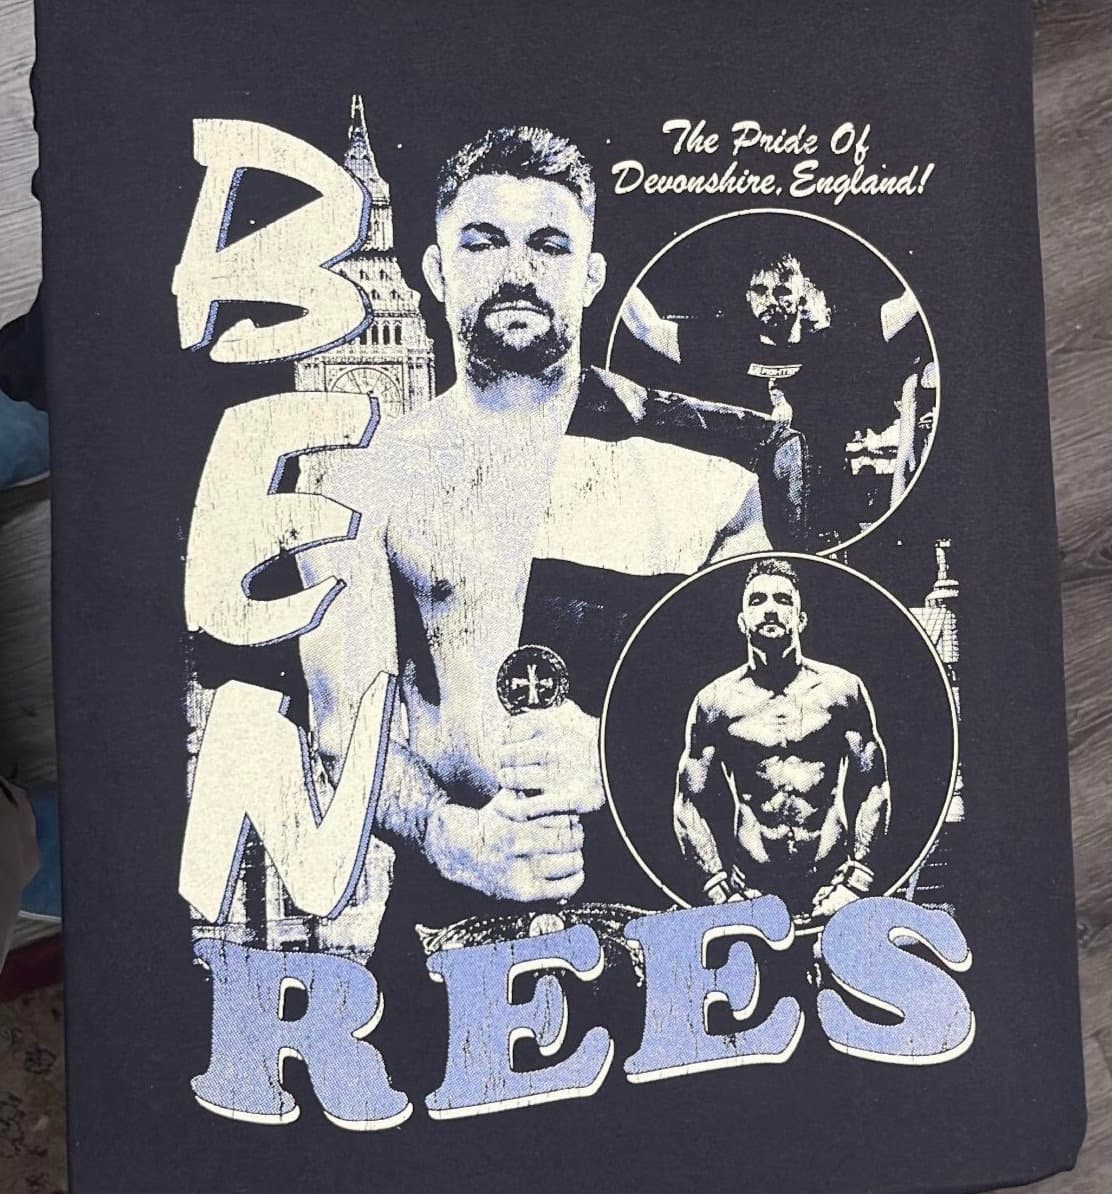
Are you looking to create your own screen printing design? Whether you plan to print on t-shirts yourself or submit artwork to a screen printing shop, this guide will help you make decisions that save you time, effort, and money.
Here are 10 tips to consider when creating a screen printing design:
Tip #1: Avoid Using Unnecessary Colors
In screen printing, each color requires a separate screen — so designs with more colors mean more work and higher costs. If you’re printing a design with multiple colors, look for ways to reduce the color count while still achieving the visual impact you want. It can save real time and money.
Tip #2: Use Thick Lines
Screen printing emulsion has its limits when it comes to holding fine detail. Avoid lines thinner than 10pt — anything finer risks not washing out of the screen properly after it’s exposed.
Tip #3: Choose Your Software Based on the Design
Different design software suits different graphics. For bold shapes and clean edges, use a vector-based tool like Adobe Illustrator. For gradients and photographs, Adobe Photoshop is the better fit.
Tip #4: Trap Your Layers
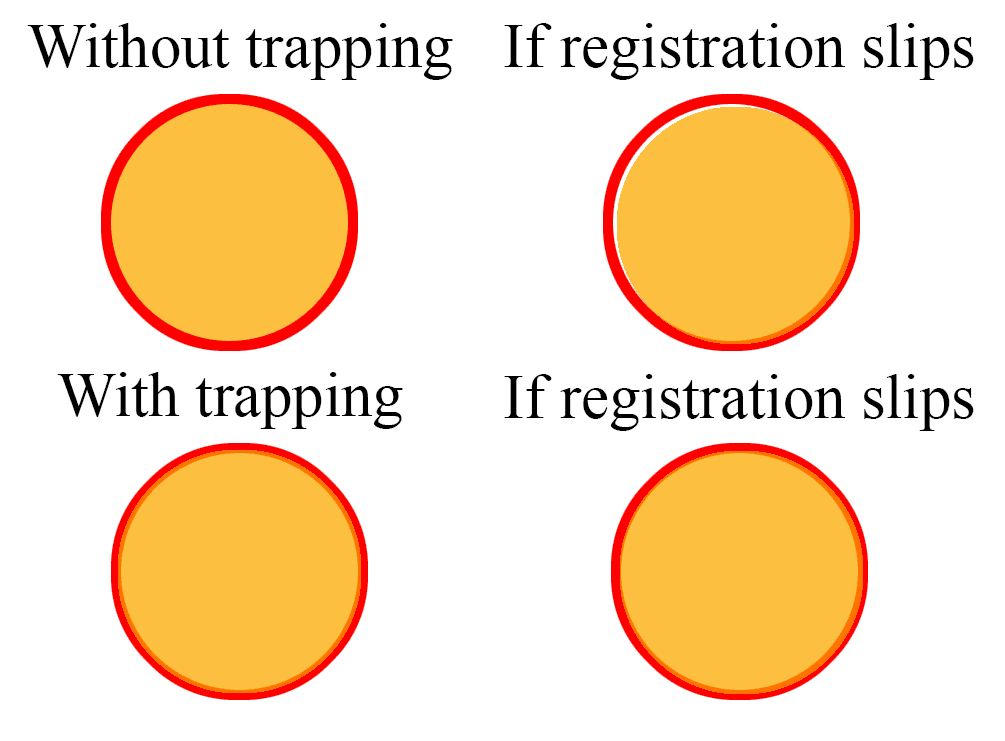
Trapping adds a margin of safety in case your color registration is slightly off. Add an extra outline or “stroke” to the bottom layer so it overlaps with the layer above it. If registration slips a little, the layers still appear aligned instead of showing the shirt color peeking through.
Tip #5: Size Your Graphic for a Large Tee
When setting up your press, you want the same-sized image to work across a full run of shirts — typically small through XXL, with large in the middle. Base your design’s size on a large-sized tee so it doesn’t look oversized on a small or undersized on an XXL. If you want a 10-inch-wide print, make sure it looks right on a size large first.
Tip #6: Double-Check Your Resolution
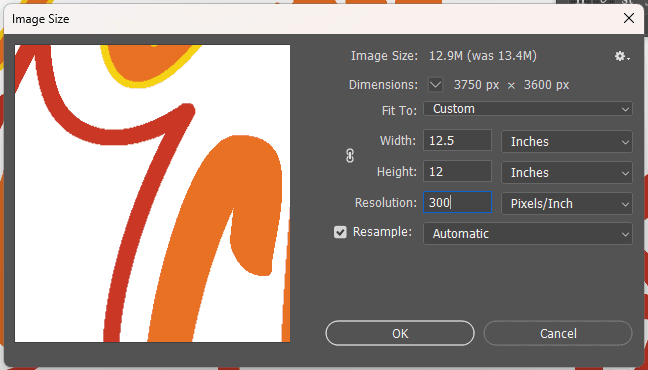
Send your printer the highest-quality version of your design possible. A low-resolution image loses detail that can’t be recovered. Set your resolution to at least 300 pixels-per-inch before exporting.
Tip #7: Prepare Hand-Drawn Designs Correctly
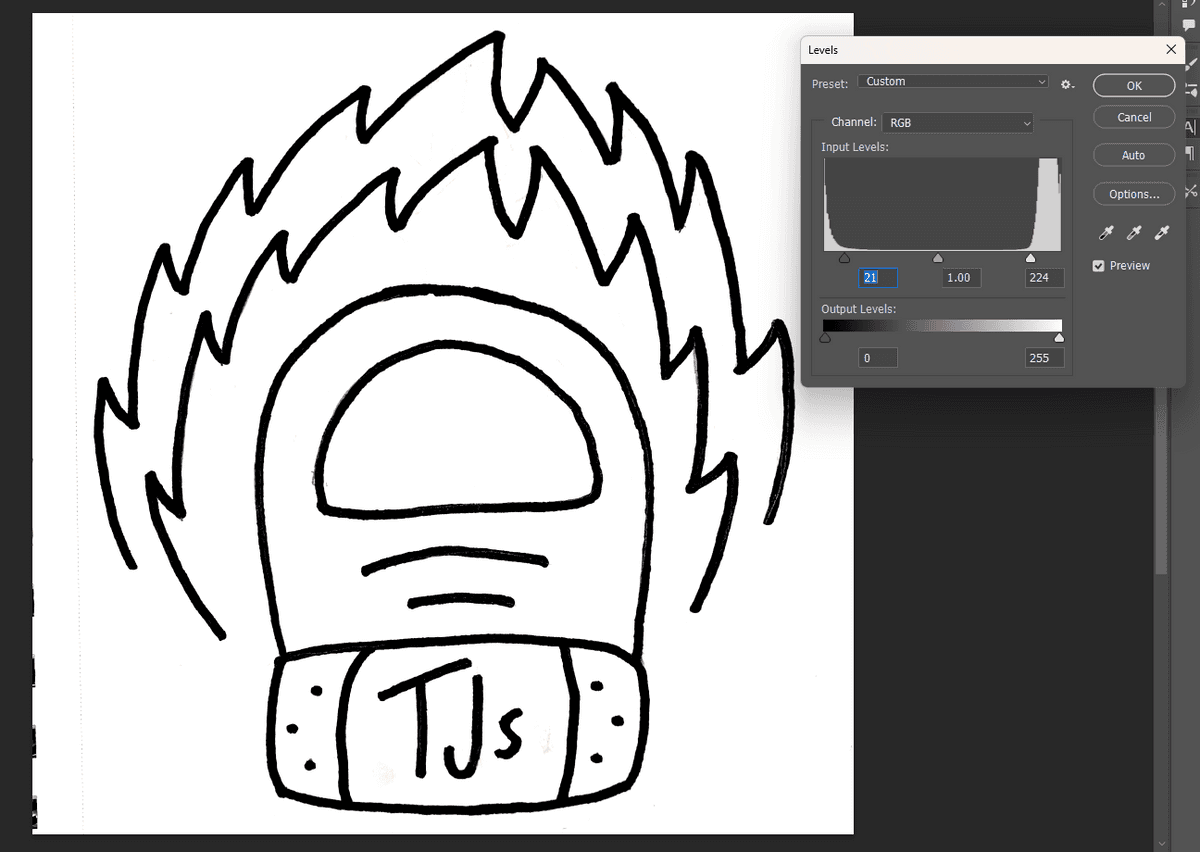
Screen printing hand-drawn graphics can be a lot of fun, but simply scanning the artwork isn’t enough. Make sure the background is as white as possible and the linework as bold and black as possible — using the levels adjustment in Photoshop or increasing contrast can help. You may still need to manually clean up the background afterward.
Tip #8: Make Sure Dark-Garment Artwork Will Translate
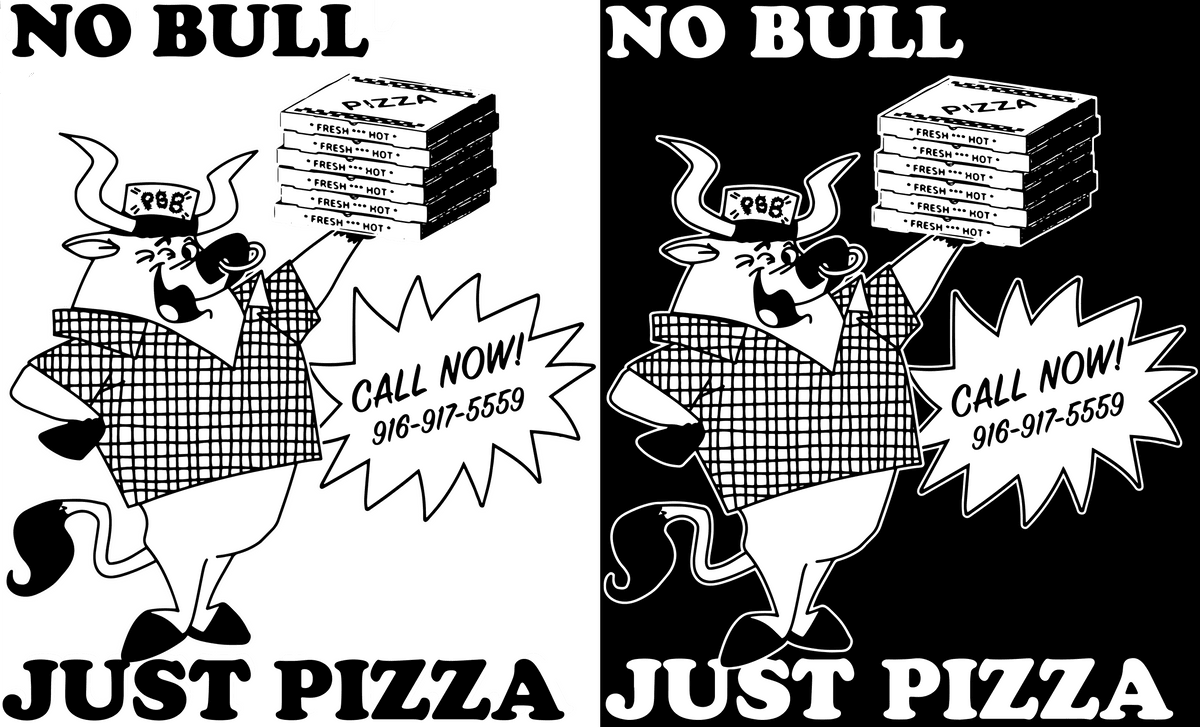
Most design software defaults to a white background, which can be misleading if your artwork is headed for a black shirt. View your artwork against a black background and adjust accordingly — typically inverting text to white and adding a white stroke around other elements.
Tip #9: Add Registration Marks
Whether your design has one color or several, registration marks on every layer make it easy to align the design on the pallet and line up colors relative to each other — keeping the final print sharp and accurate.
Tip #10: Label Your Films with Color Names
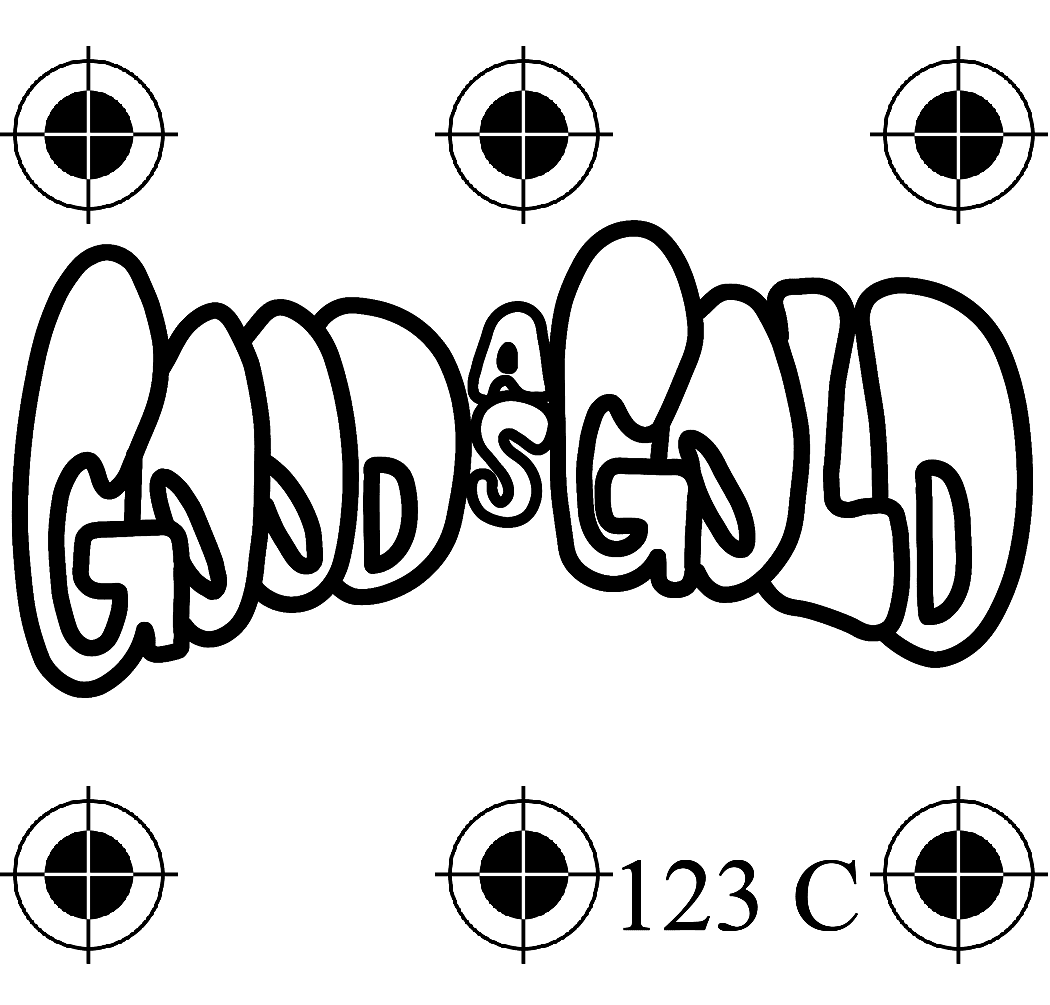
When a design uses multiple colors, label the color name directly on the film before burning it onto the screen — we like including the Pantone code for each color, so it’s permanently marked and easy to mix correctly. Once colors are registered, just tape over the label and start printing.
Hopefully this guide helps you make the right calls when preparing artwork for screen printing. It can feel like a lot of steps at first, but it becomes natural with practice. If you’d rather send your artwork to us at Hard Eight, we’ll take care of the design preparation for you at no extra cost — get a quote today if you’re interested.
Ready to get your own project started?