

How to Screen Print a T-Shirt on Any Budget
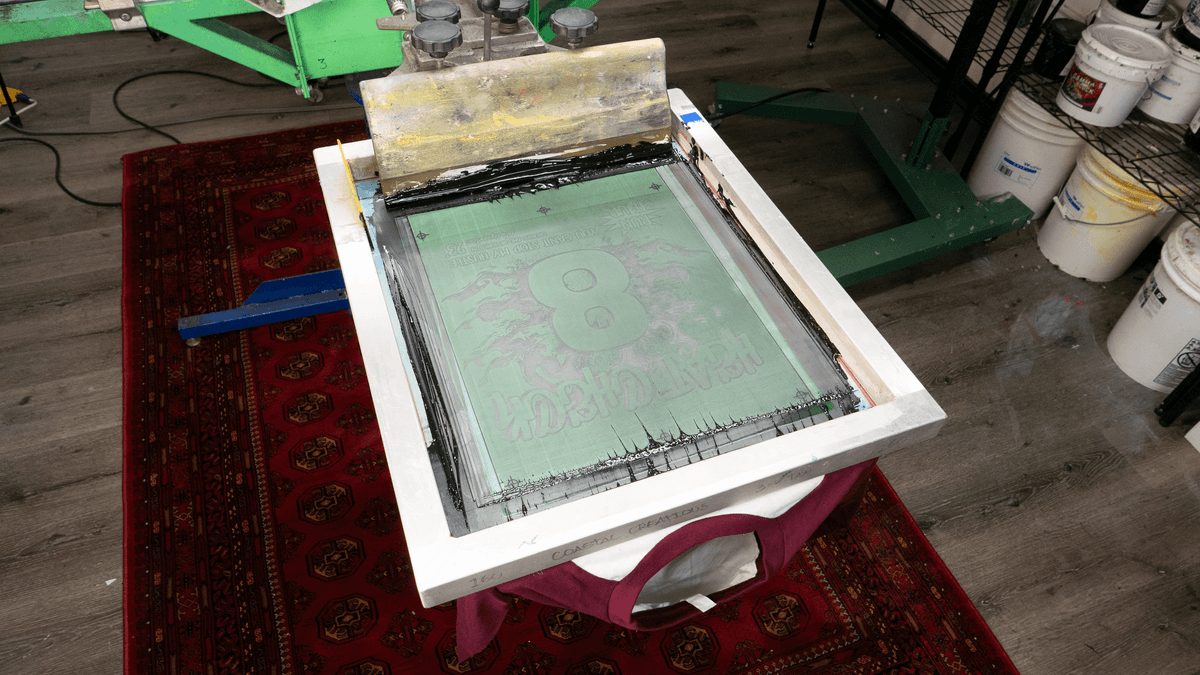
Silk screen printing is a simple and affordable process. You don’t need to spend a lot of money to start your own screen printing project. In this article, we’ll cover everything you need to create your own t-shirt design using silk screen printing — whether you want to keep the initial costs to a minimum or you’re looking to start a full-scale screen printing operation.
What You Need
Bare minimum:
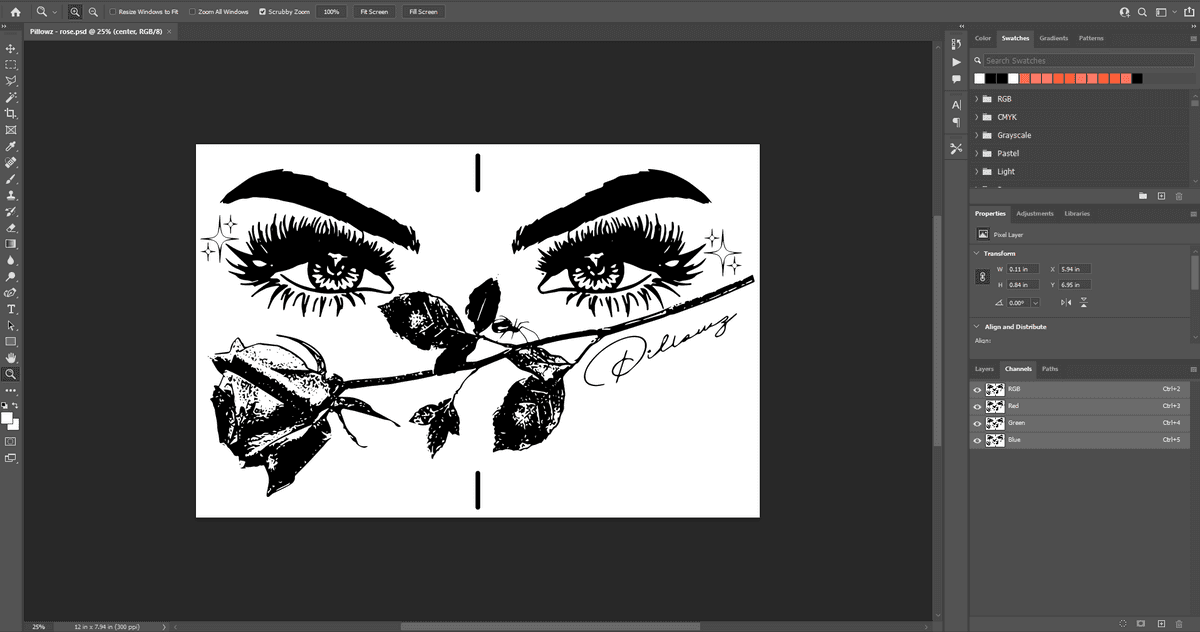
- A design— before printing, make sure your design is ready. Check out our separate article on designing for screen printing for tips.
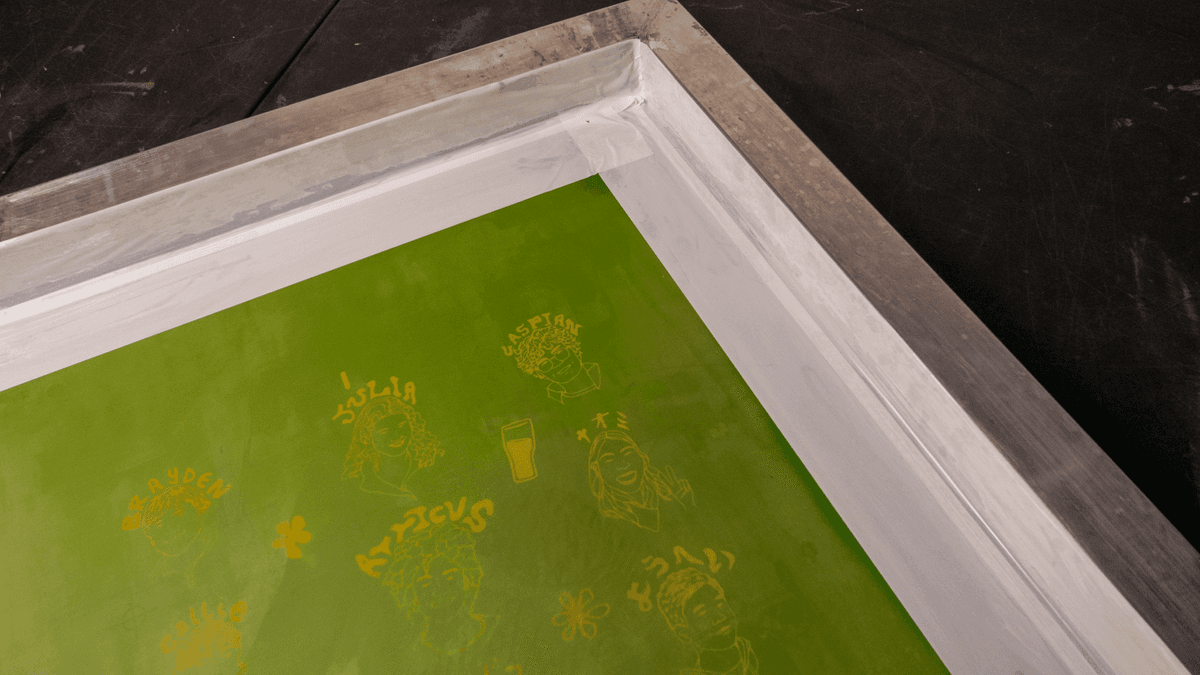
- A screen— silk screens can be purchased online or from local screen printing companies. We recommend buying a pre-burned screen to start with, before trying to expose one yourself.
- A squeegee— purchase one specifically designed for screen printing, and make sure it’s wider than your design.
- Ink— when starting out, it’s best to use plastisol ink instead of water-based, since it won’t dry on your screen while you’re learning.
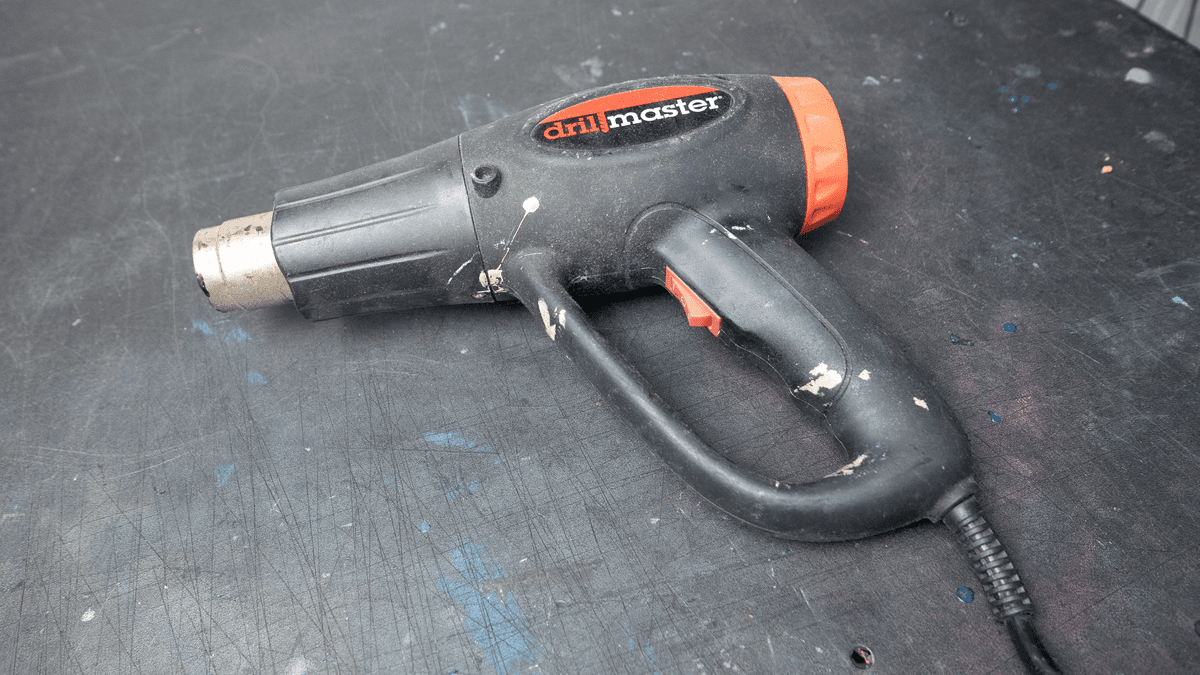
- Heat gun— cures the design onto the shirt so it survives the washer and dryer.
- Infrared thermometer— essential for reading the temperature of your ink while curing. You can typically get one online for under $20.
Items to buy if you want to expand:
- A press— a single-color press is reasonably priced; multi-color presses cost more but let you print designs with multiple colors. Prices range from a few hundred dollars for small presses to several thousand for commercial-grade equipment.
- Pallet adhesive— keeps the shirt flat on the press pallet.
- Exposure unit— lets you expose your own screens, and can be found for a reasonable price used.
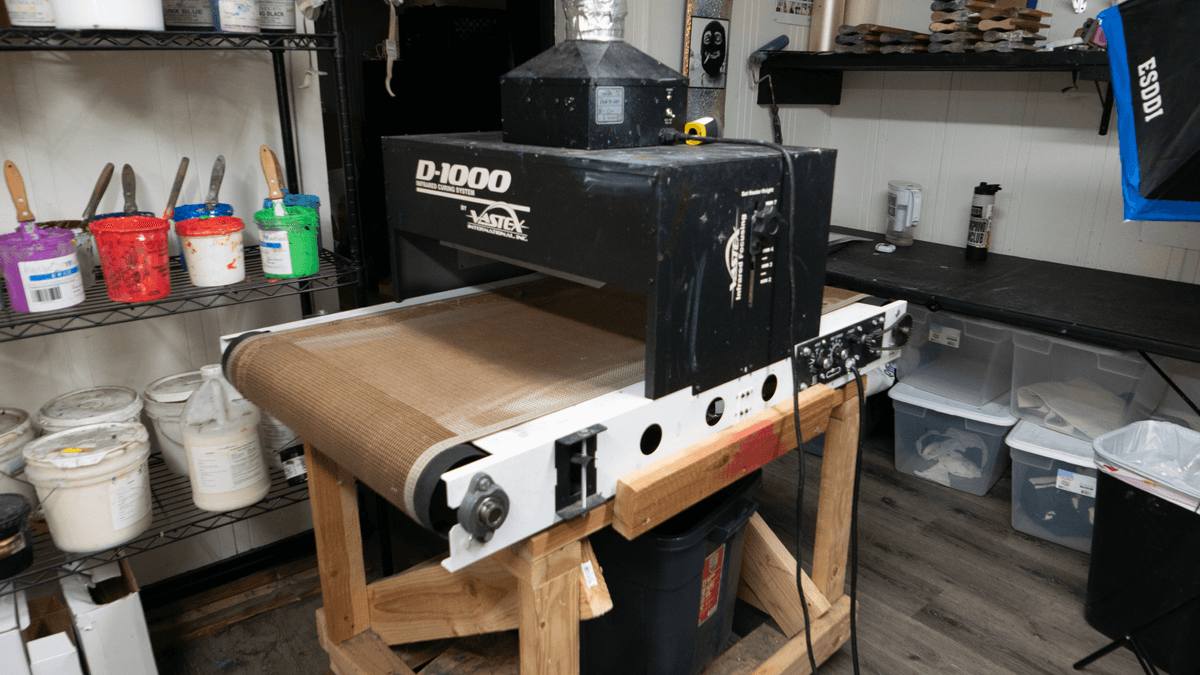
- Conveyor dryer— an infrared belt dryer is ideal for quickly curing t-shirts at higher volume.
Setting Up
It’s crucial to follow all the necessary steps while setting up your print run — skipping a step can cause problems later that require redoing the whole process. Assuming you already have an exposed screen ready to use, here’s how to set up your print job:
- Organize your space.Prepare your workspace before you start — keep all necessary items within reach and the area clutter-free so you can move around easily.
- Tape up your screen. Even with emulsion blocking most of the mesh, the edges can still be open and exposed. Tape them off to prevent ink from seeping through.
- Apply adhesive(if you’re using a press). To keep your shirt flat on the pallet, apply an even coat of adhesive and let it dry to a tack. For sweatshirts, use several layers or a heavy-duty adhesive.
- Load the screen onto the press(if using one). Tighten the knobs firmly without over-tightening — you can damage the screen frame. Use the bolts on the print head clamp to adjust the off-contact (the distance between screen and pallet) until it’s about 1/16″ and completely even.
- Apply ink to the screen evenly using a spatula, in a line above or below the design.
Printing
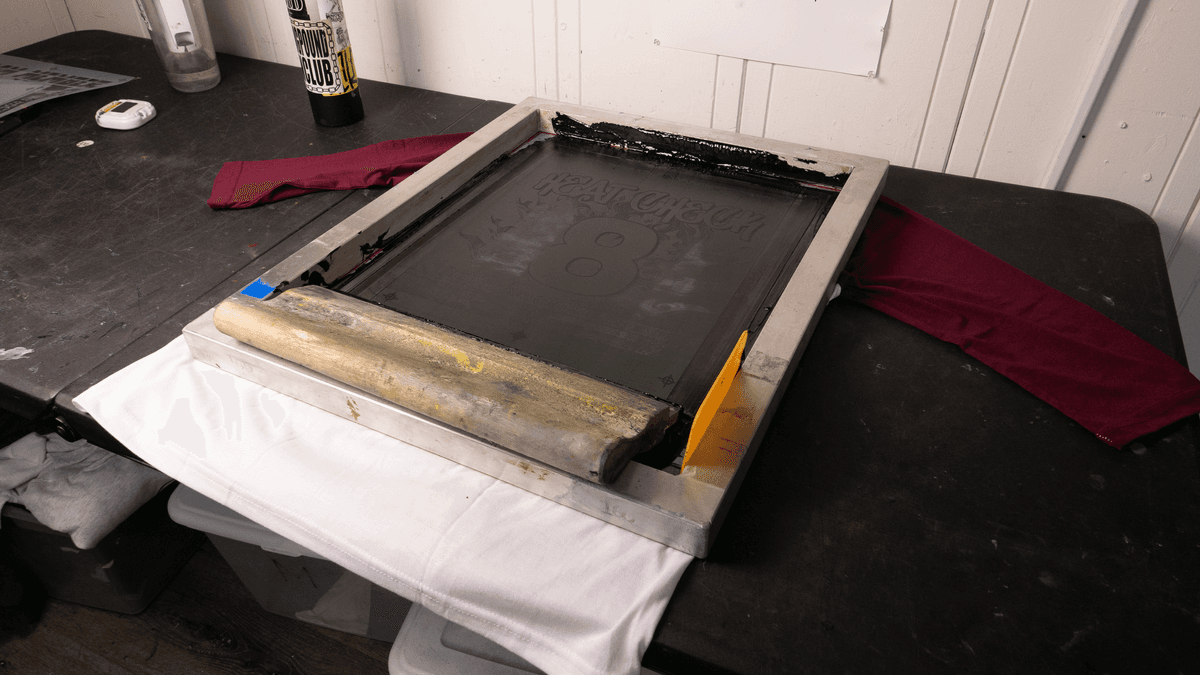
If you’re using a press, load your shirt onto the pallet as evenly and straight as possible, without wrinkles, then clamp your screen onto it. Without a press, just lay your shirt flat and position the screen on top.
Start by “flooding” the ink — pulling a thin layer across the design with your squeegee. This takes some practice. Then push or pull the ink through the mesh; try both directions to see which feels more comfortable and yields better results for your setup. Finally, carefully pull the screen off the shirt to reveal the finished print.
Curing
Before doing anything else with your shirt, cure the ink using either a heat gun (cheaper) or a conveyor dryer (more expensive but easier). With a heat gun, turn it on and move it in circles over the ink — don’t get too close or linger too long in one spot, or you risk burning the shirt. Hold an infrared thermometer in your other hand and check the temperature as you go. Once every part of the design reaches at least 320°F (but not much higher), the print is cured. A conveyor dryer makes this easier — dial in the settings needed to hit 320°F once, and you can reuse them for every shirt after.
It may seem like a lot to take in at first, but with patience and practice, it becomes second nature. These skills can be used to create merchandise for yourself and the people around you — and could even turn into a way to earn extra income printing for others. If you’d rather send your artwork to us at Hard Eight instead, we’ll take care of the printing for you, no experimentation required.
Ready to get your own project started?